Something new - oil pastels, pt 2: Techniques

Welcome to part 2 of our series on getting to know a medium that is new to you. If you missed it, part 1 is here, where I introduced my process of trying oil pastels as a total newbie, and how I go about selecting, researching and becoming acquainted with the material. In this post we're going into the next two steps: trying out techniques and bringing it all together into sketches. And then next weekend (Feb 24, 12PM PST) we'll go even further in our EDI Live class.
Finding techniques
Once I have a feel for swatching and playing around with a new medium, I will do some basic exploration of common techniques. I'll start by looking up tutorials or charts online and trying out some of the approaches that are most widely used.
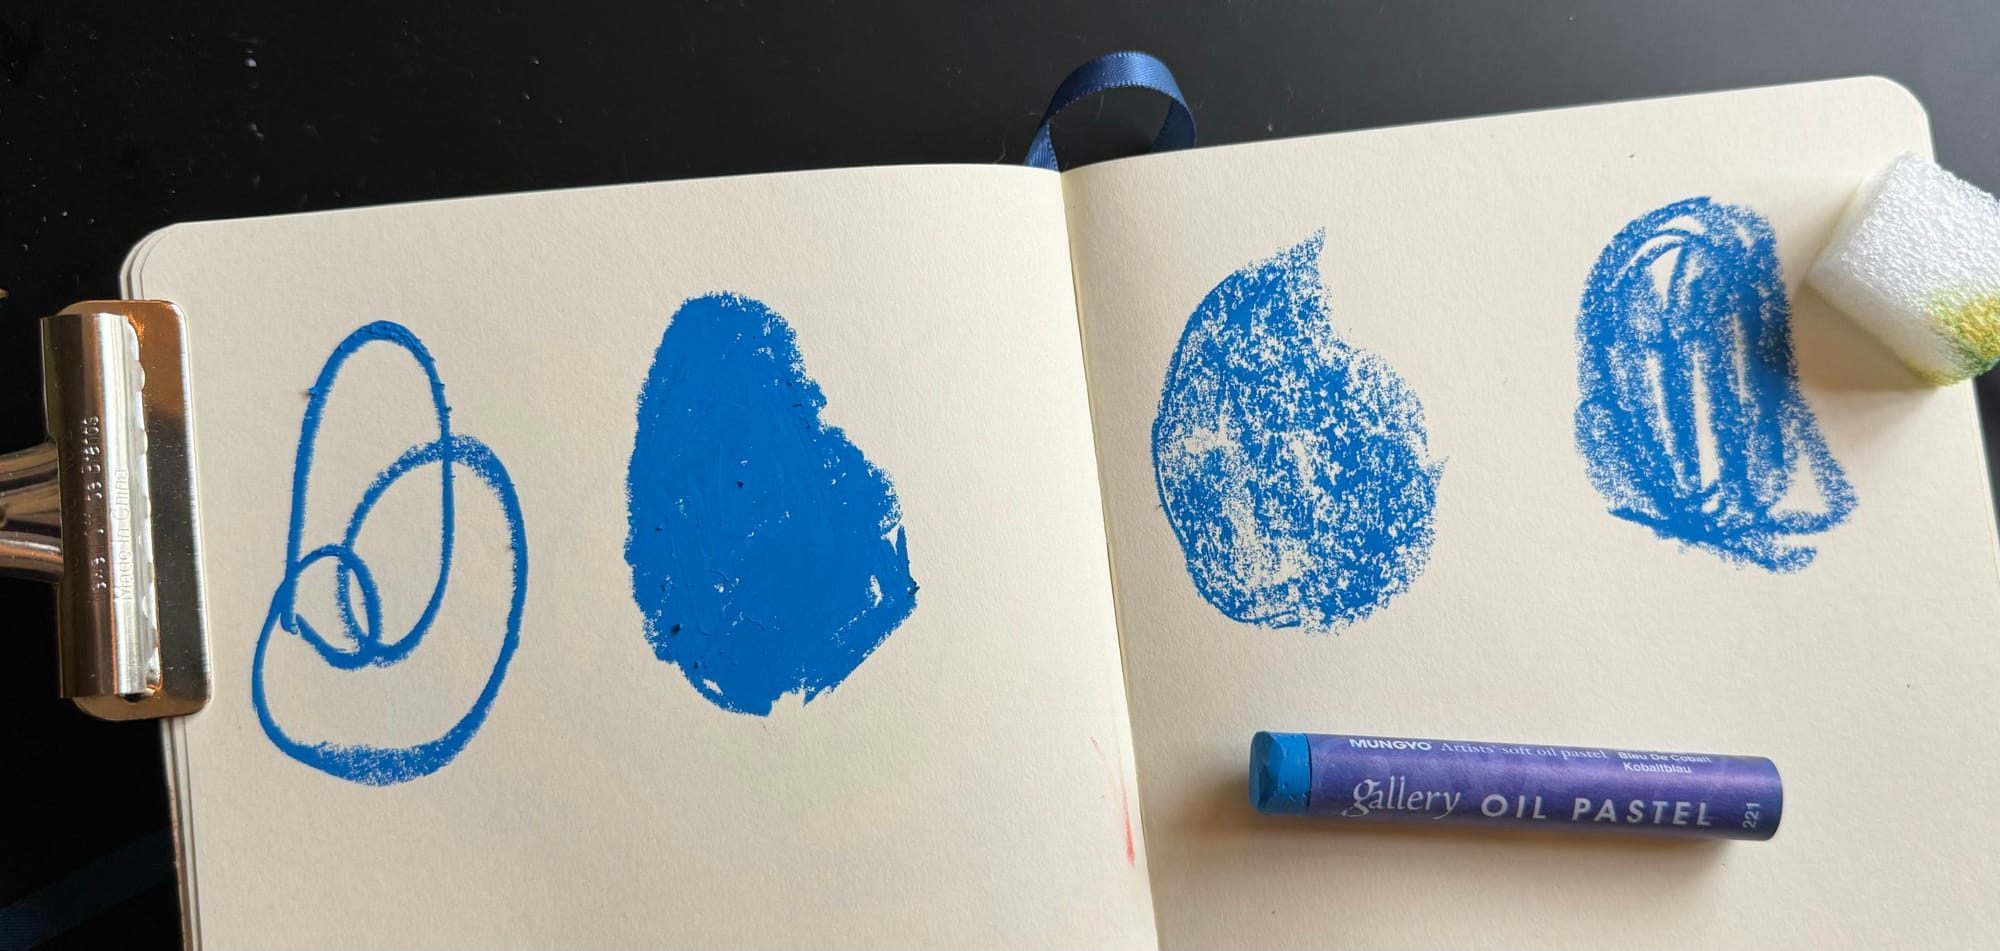
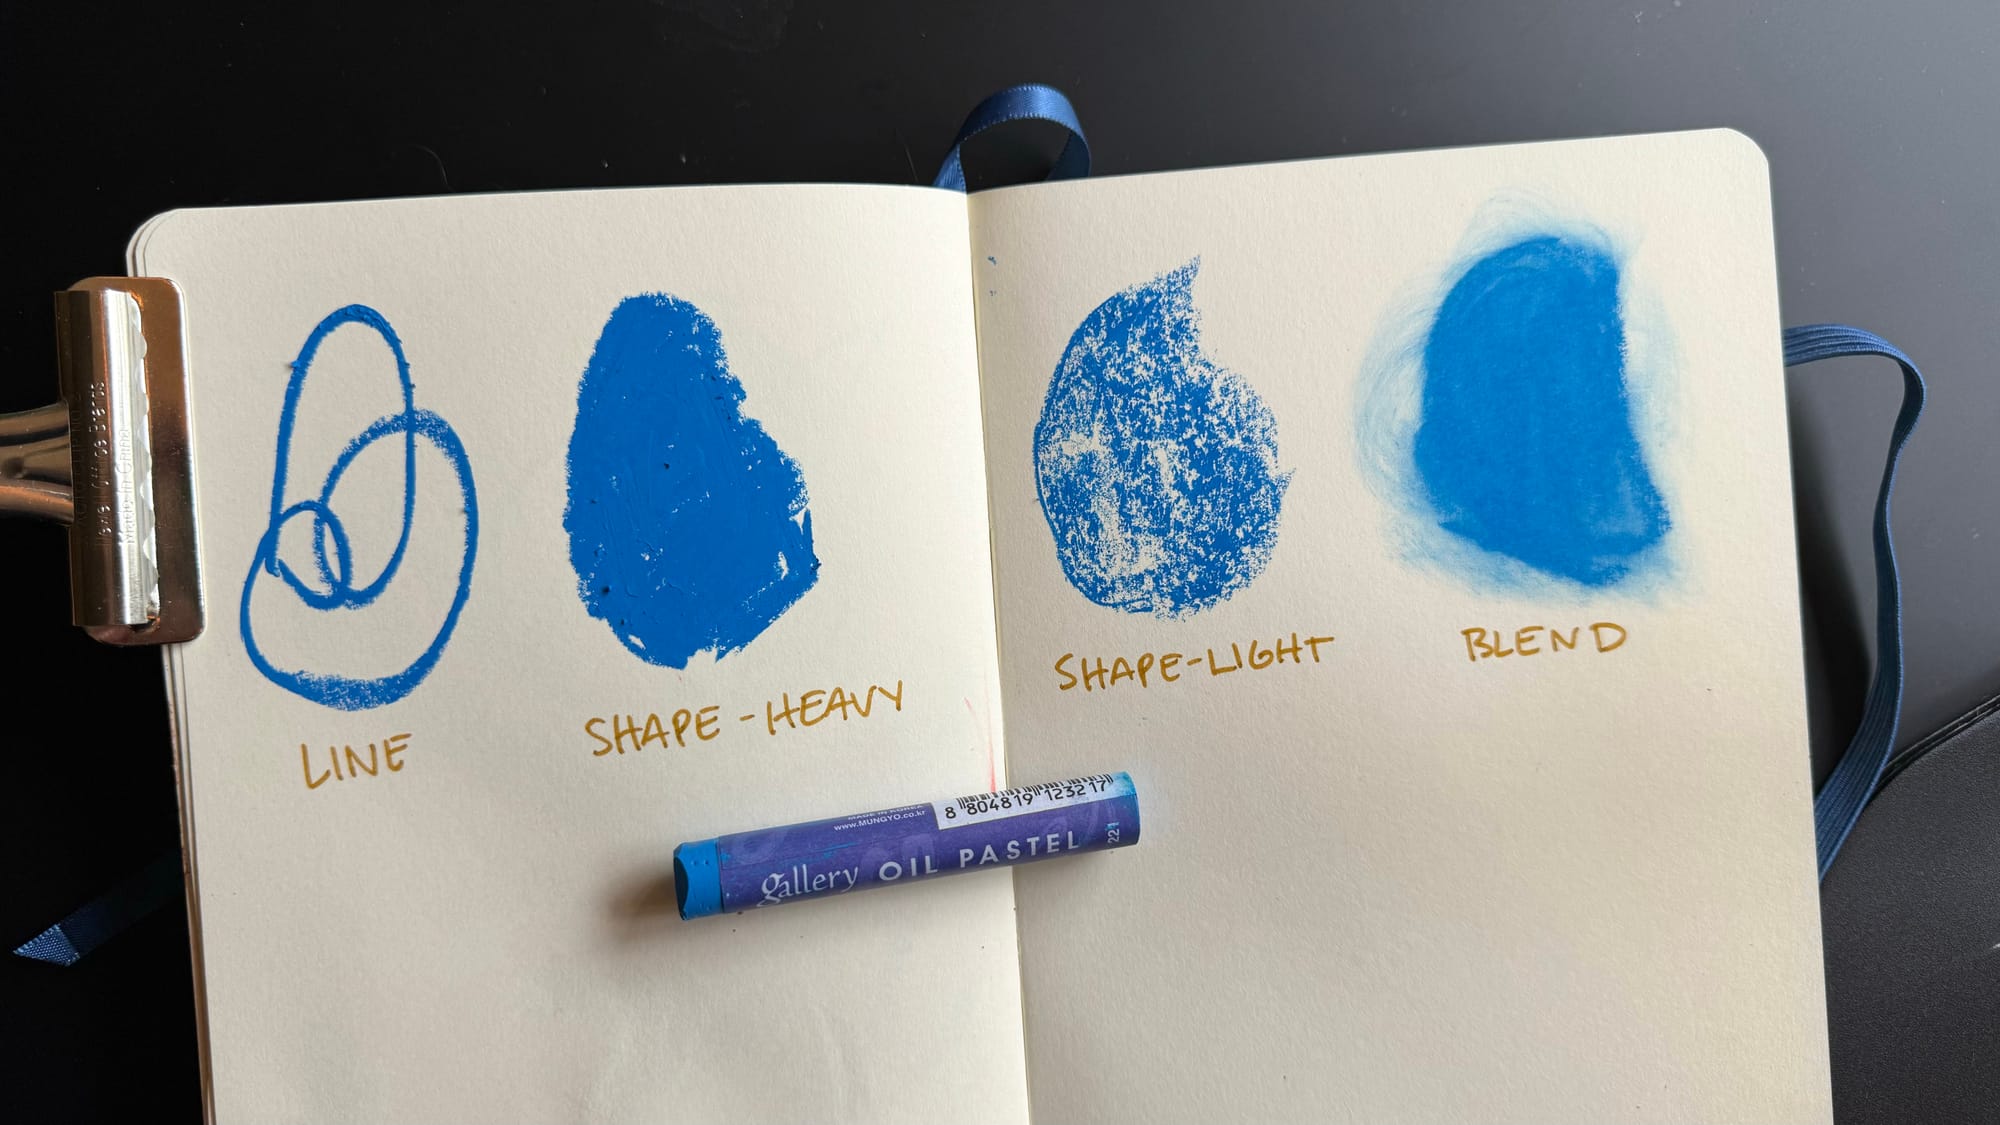
For oil pastels, I'm trying out making lines, shapes, textured shapes and blended shapes. To make the textured swatch, use a flat part of the pastel (the end, if blunt, or the side) and very light pressure.
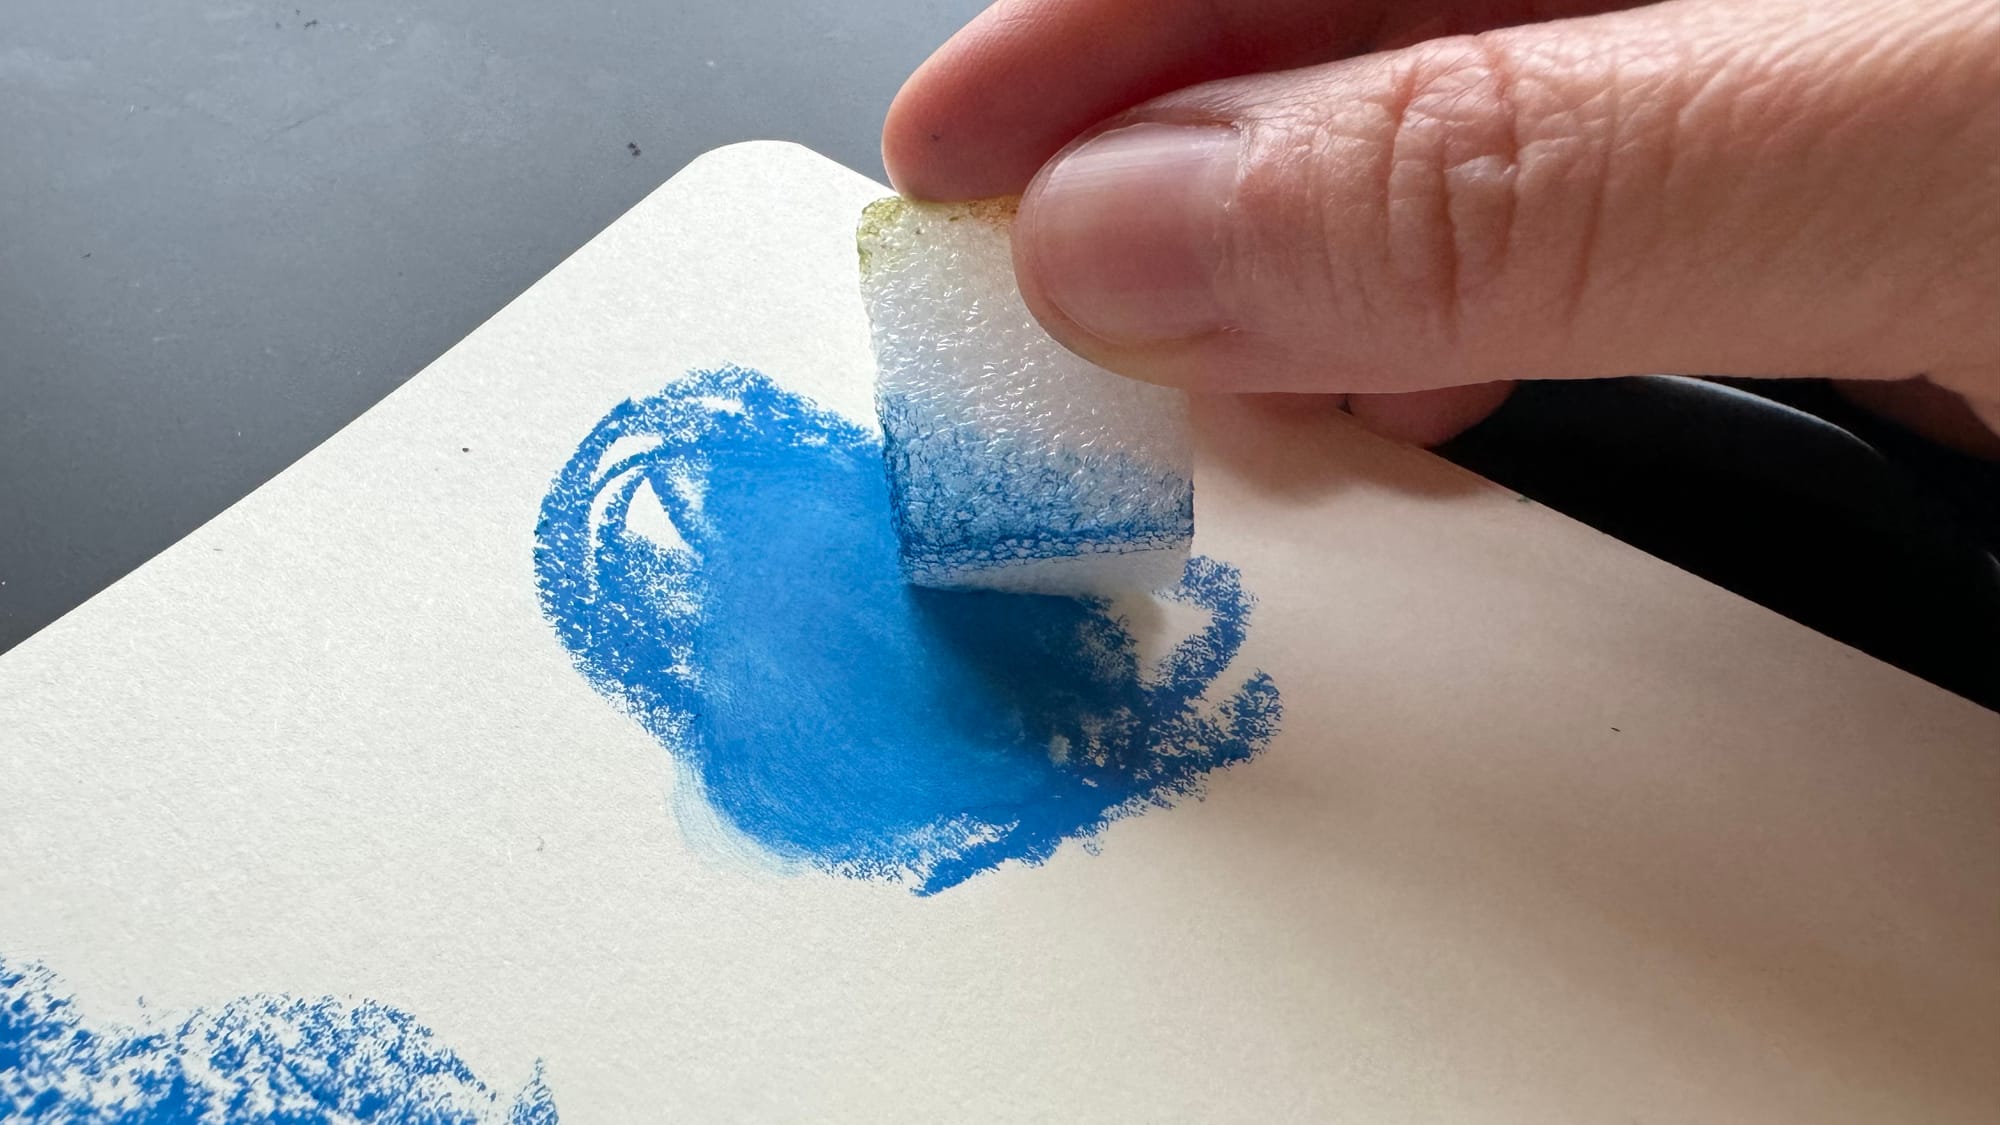
To blend, I am using a little bit of styrofoam leftover from some packaging material. You can also blend with paper blending stumps, your finger or a bit of cloth or paper towel.
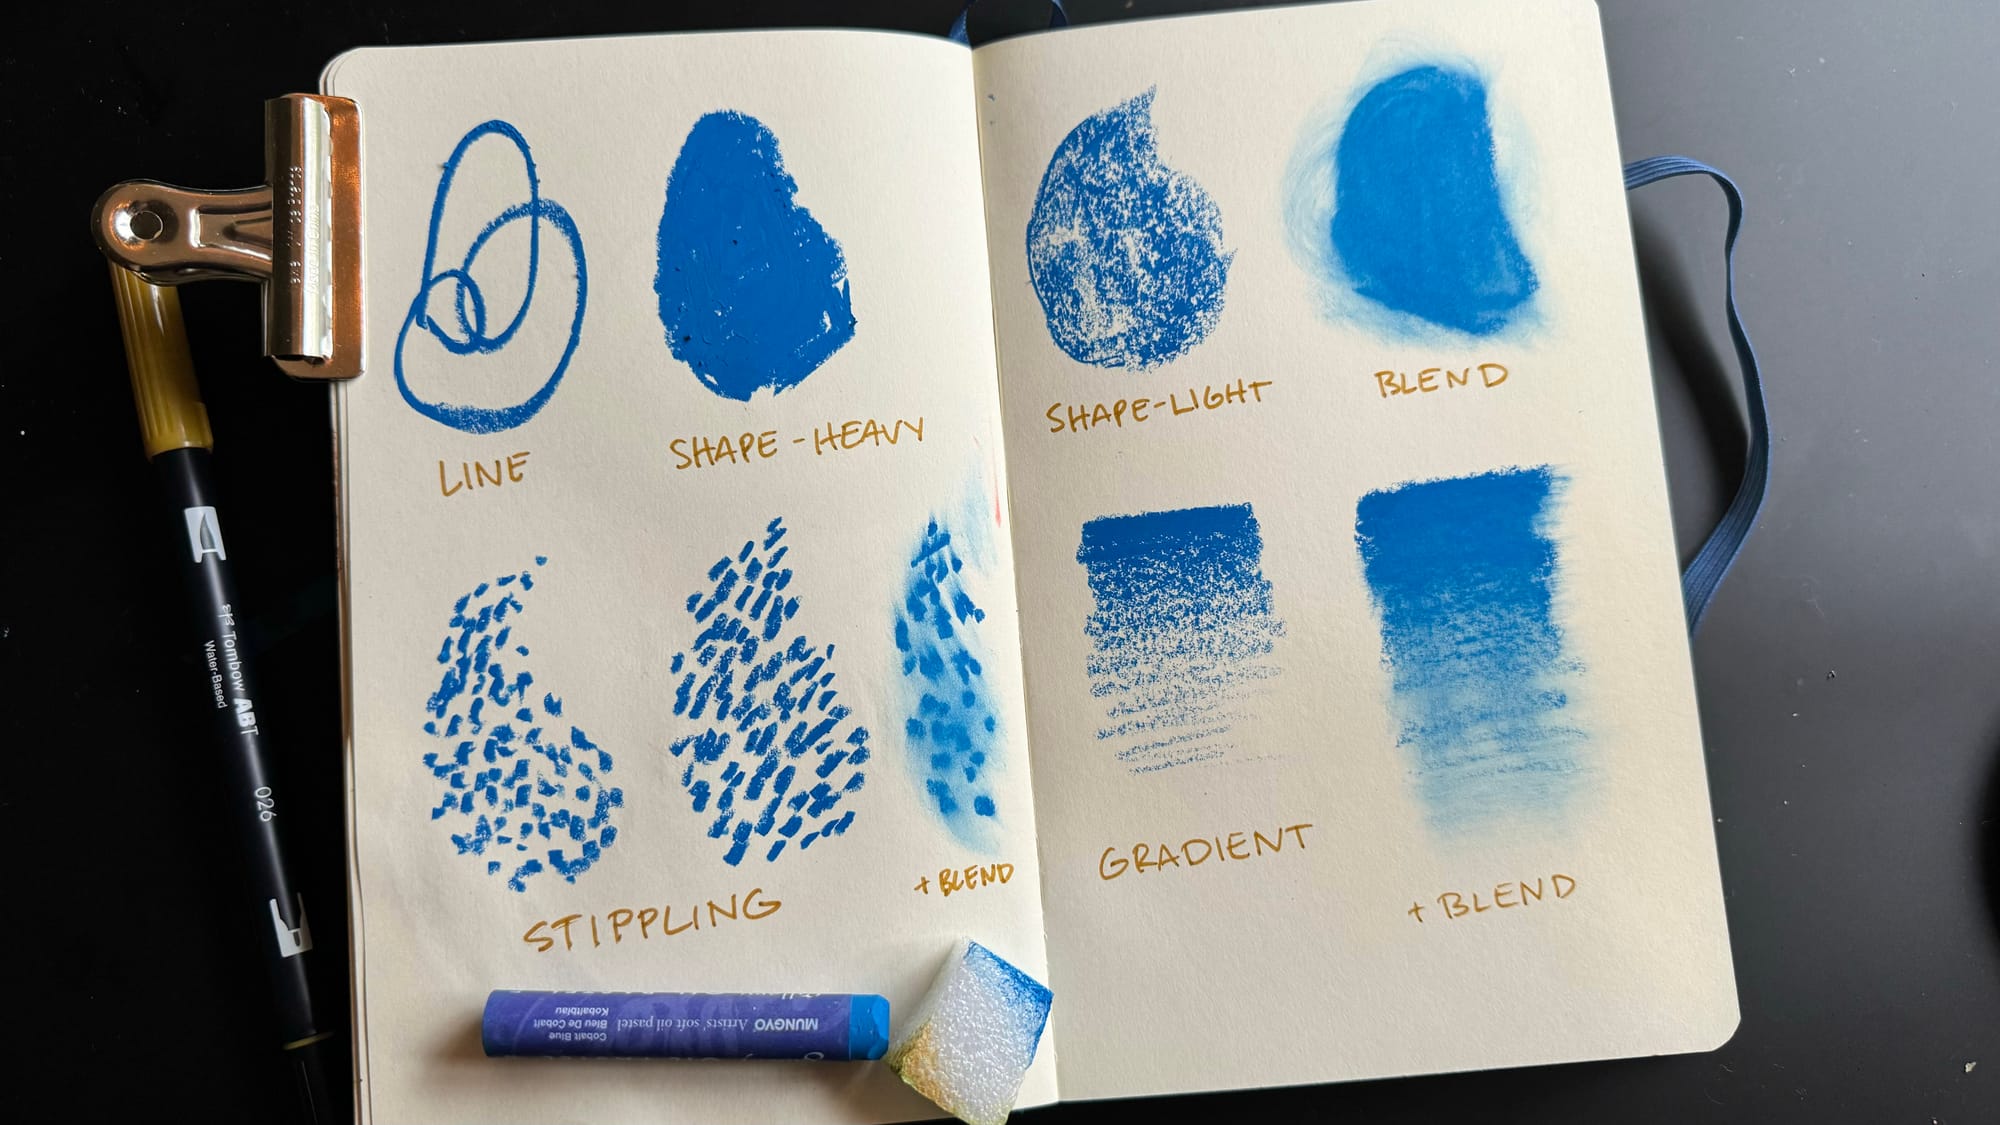
Next up I tried two kinds of stippling – random dots, and very short parallel lines – as well as gradients, both with and without blending.
Another way to blend pastels is to use heavy pressure to directly blend one oil pastel into another. Below, on the left, I made yellow and blue gradients on top of each other, blue from the top and yellow from below, and then blended it in. On the right side I put down the blue first and then scrubbed the yellow into it.
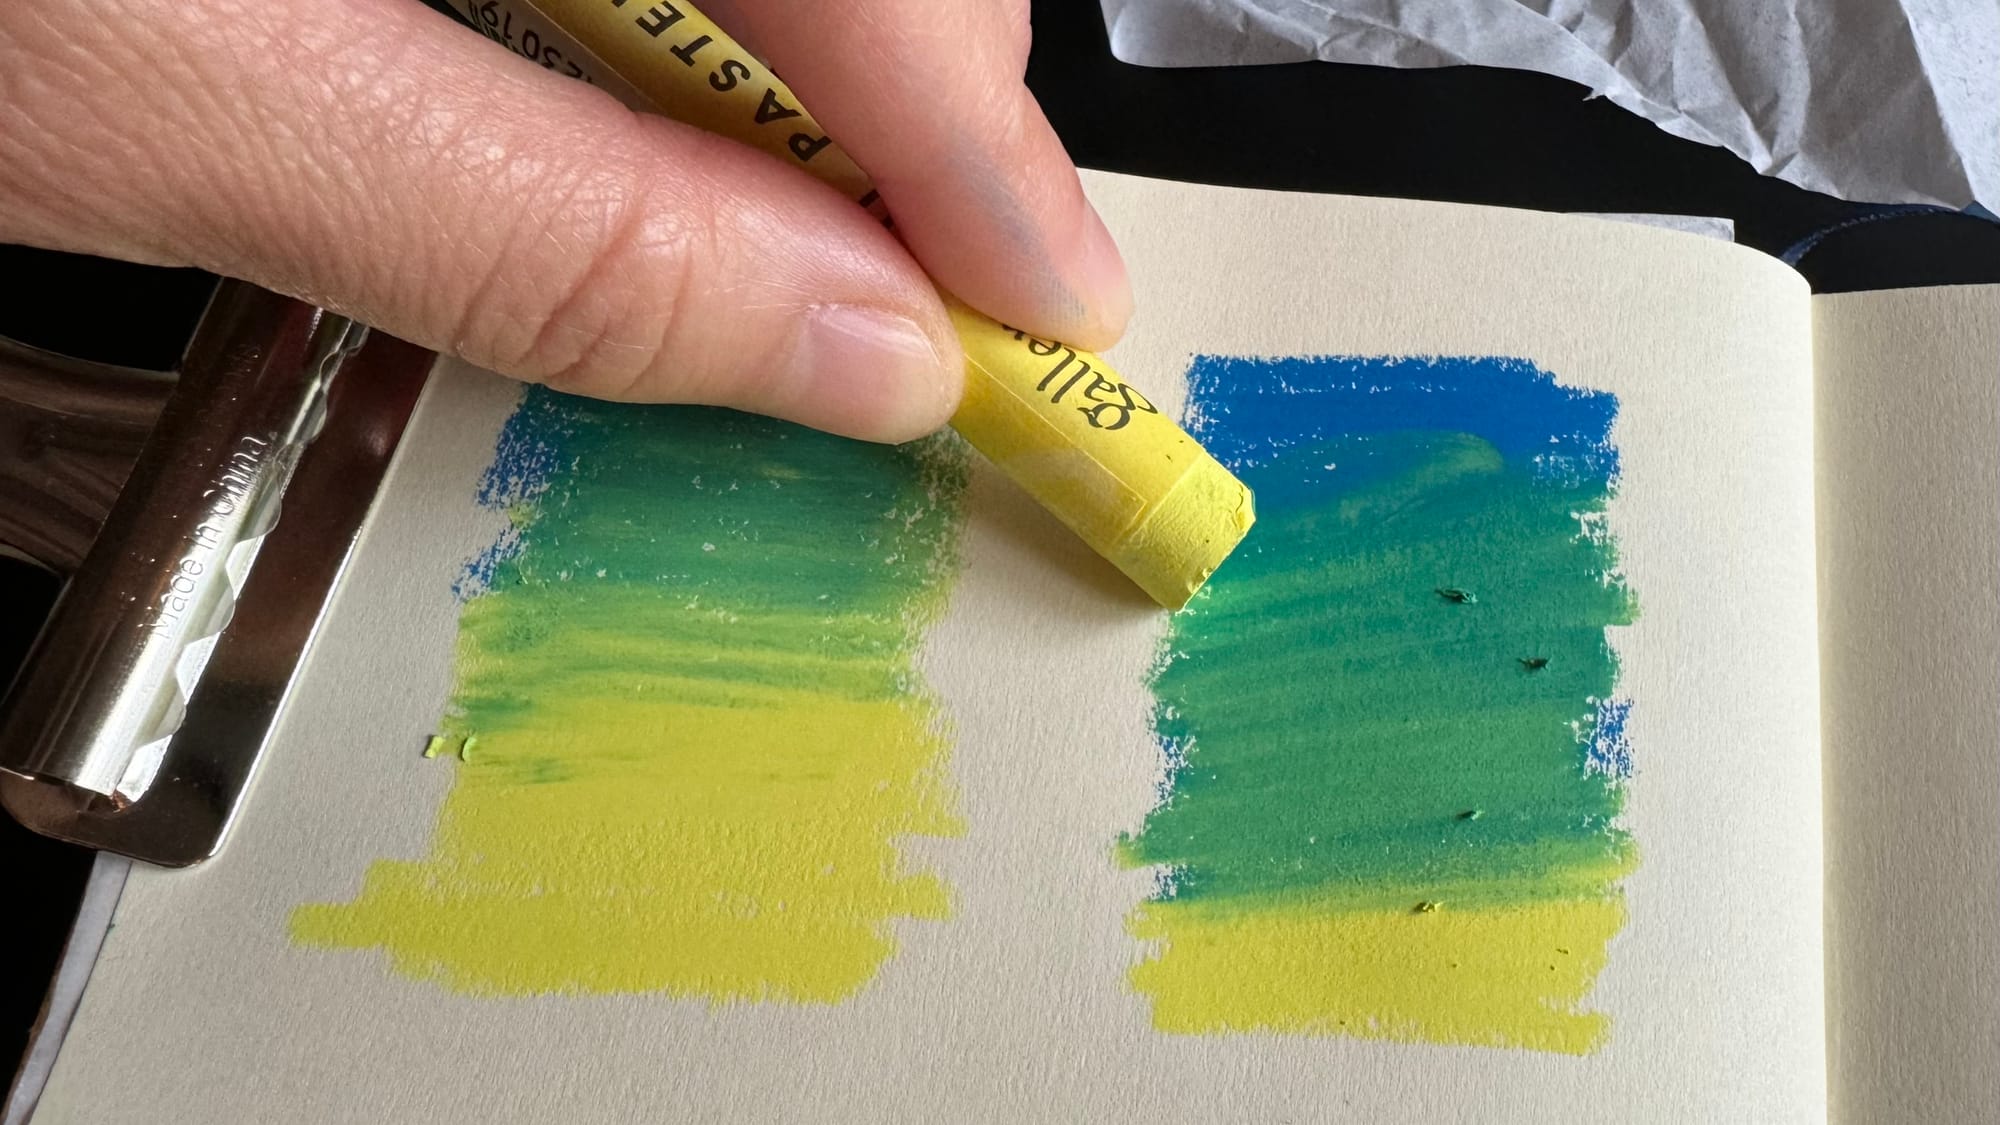
This kind of blending will definitely get your pastels dirty, so I keep some scratch paper near by to clean it off.
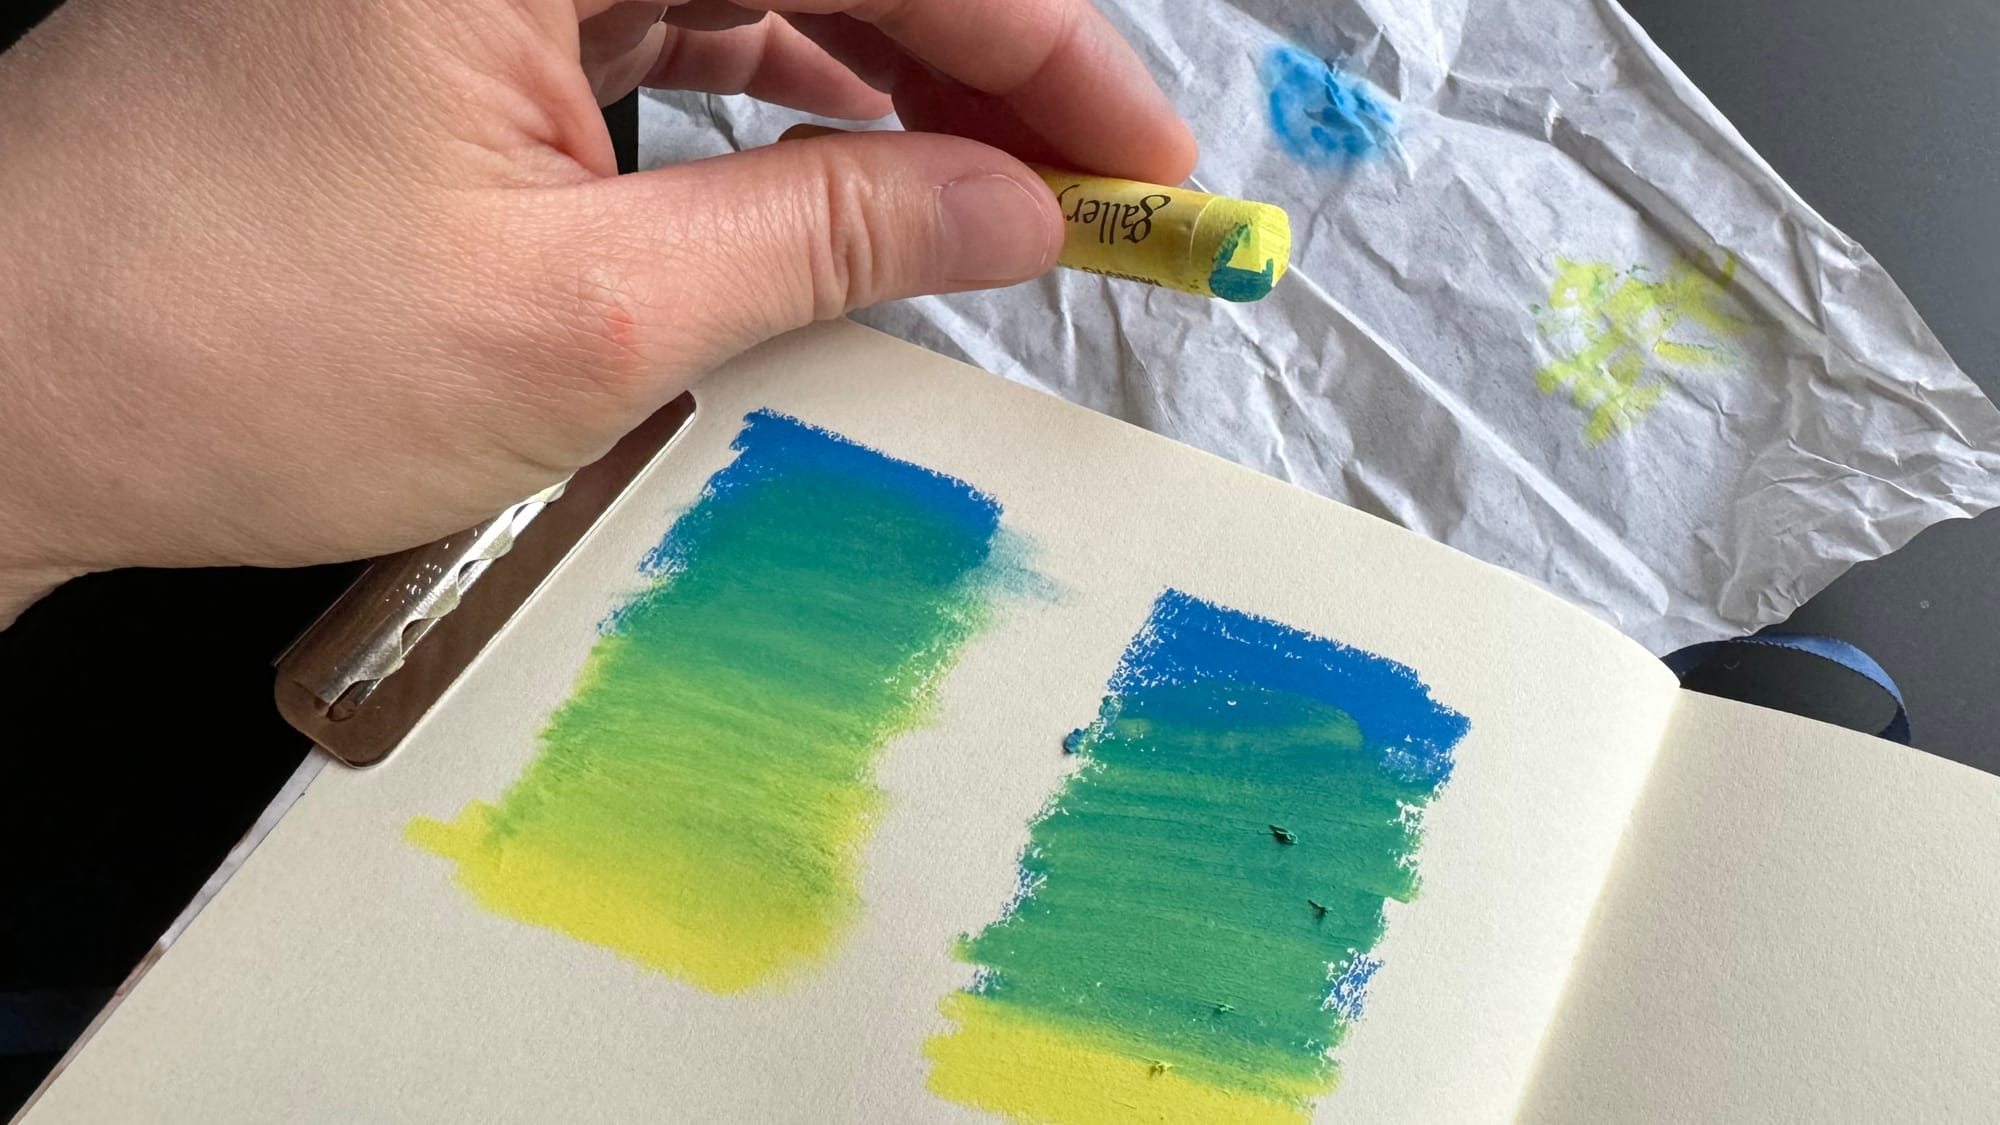
Gradient can also be made with a wider range of colors. I compared my 2-color gradients with blended and unblended 5-color gradients below.
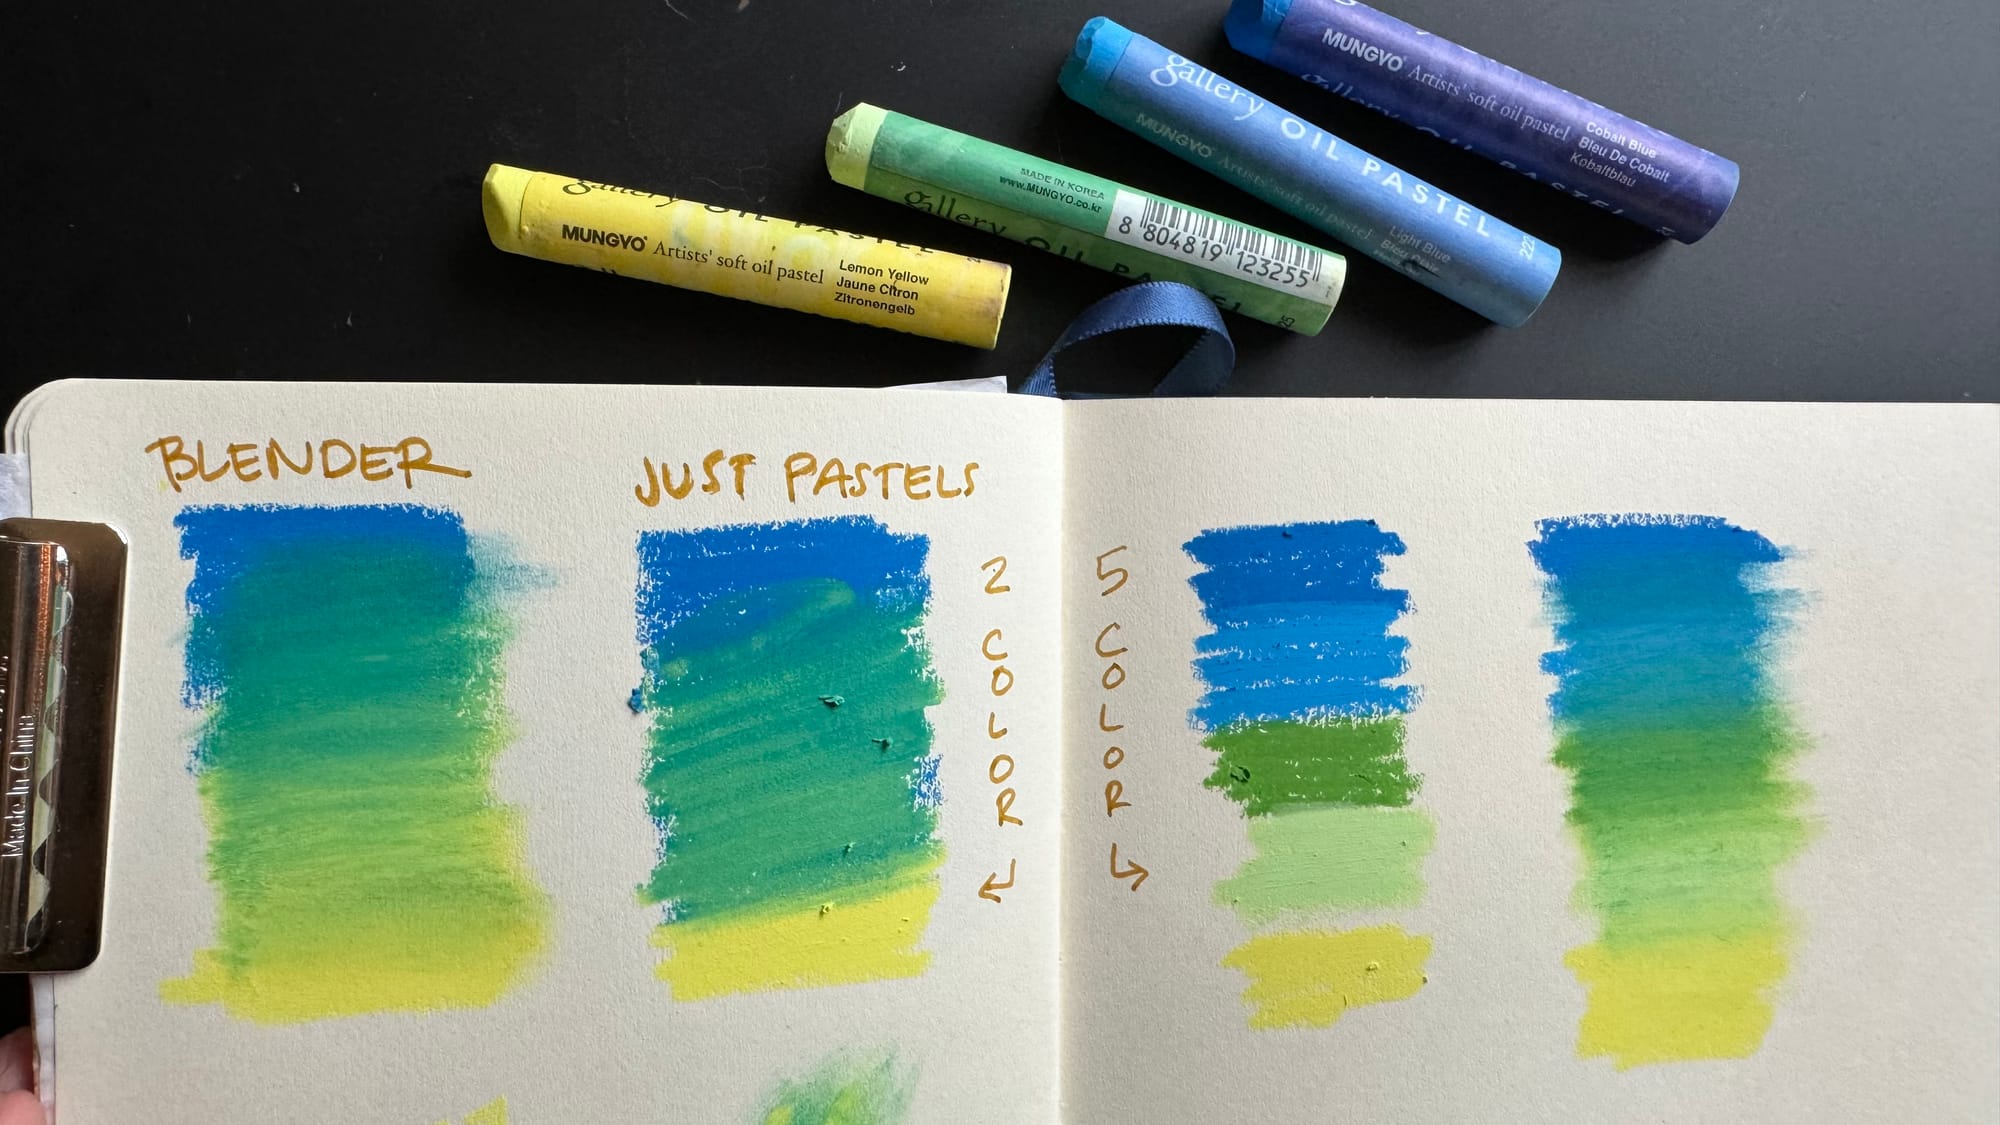
Another way to use multiple colors is to layer them. To keep distinct layers, it works best to blend in the base layer so it won't get picked up by the pastel going on top (like what happened when I made the green color by using the yellow pastel into the thick blue already down on the paper).
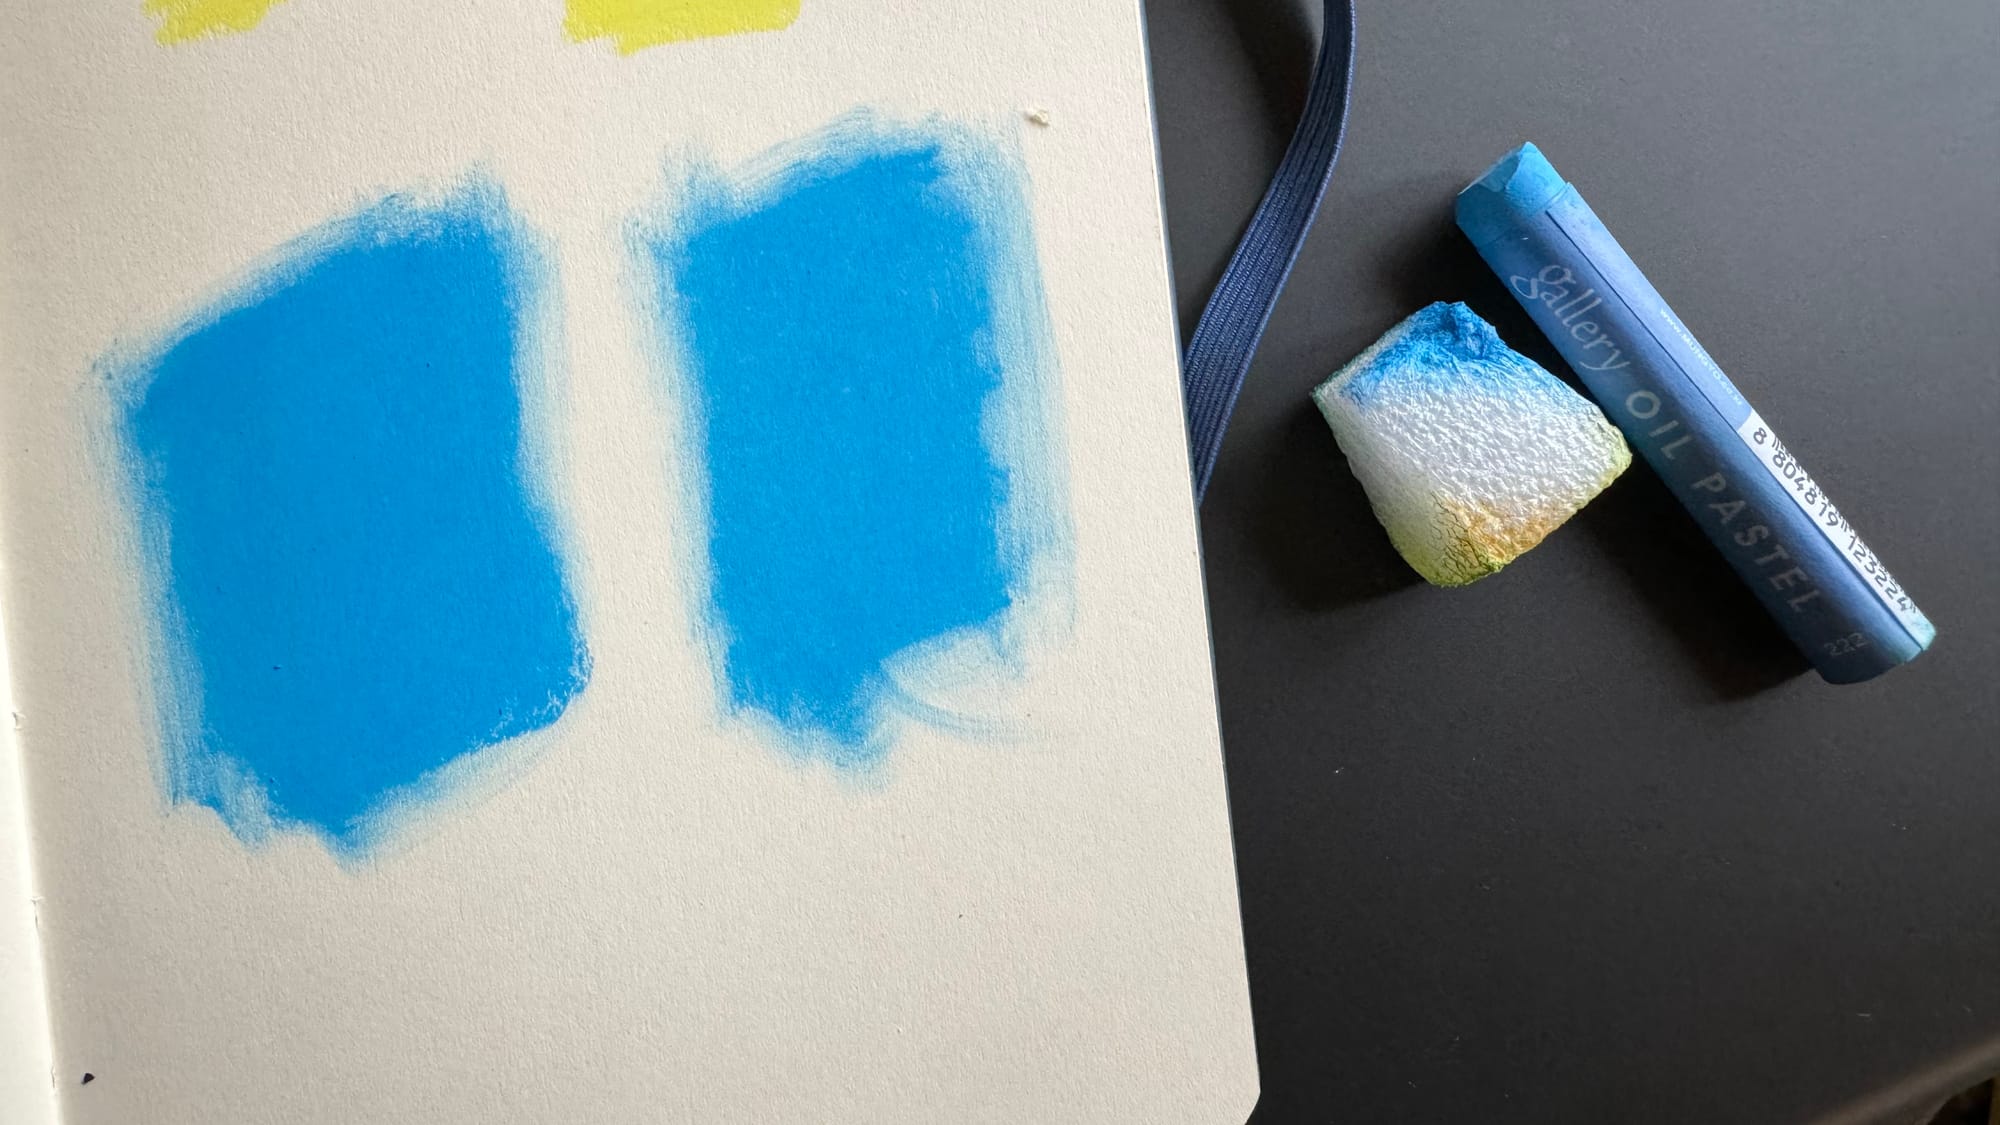
On the left I made my original set of marks (line, solid shape, stippling and textured marks) with light green right over the blended-in blue. On the right I made a thick layer over the whole thing to try out another technique: sgraffito.
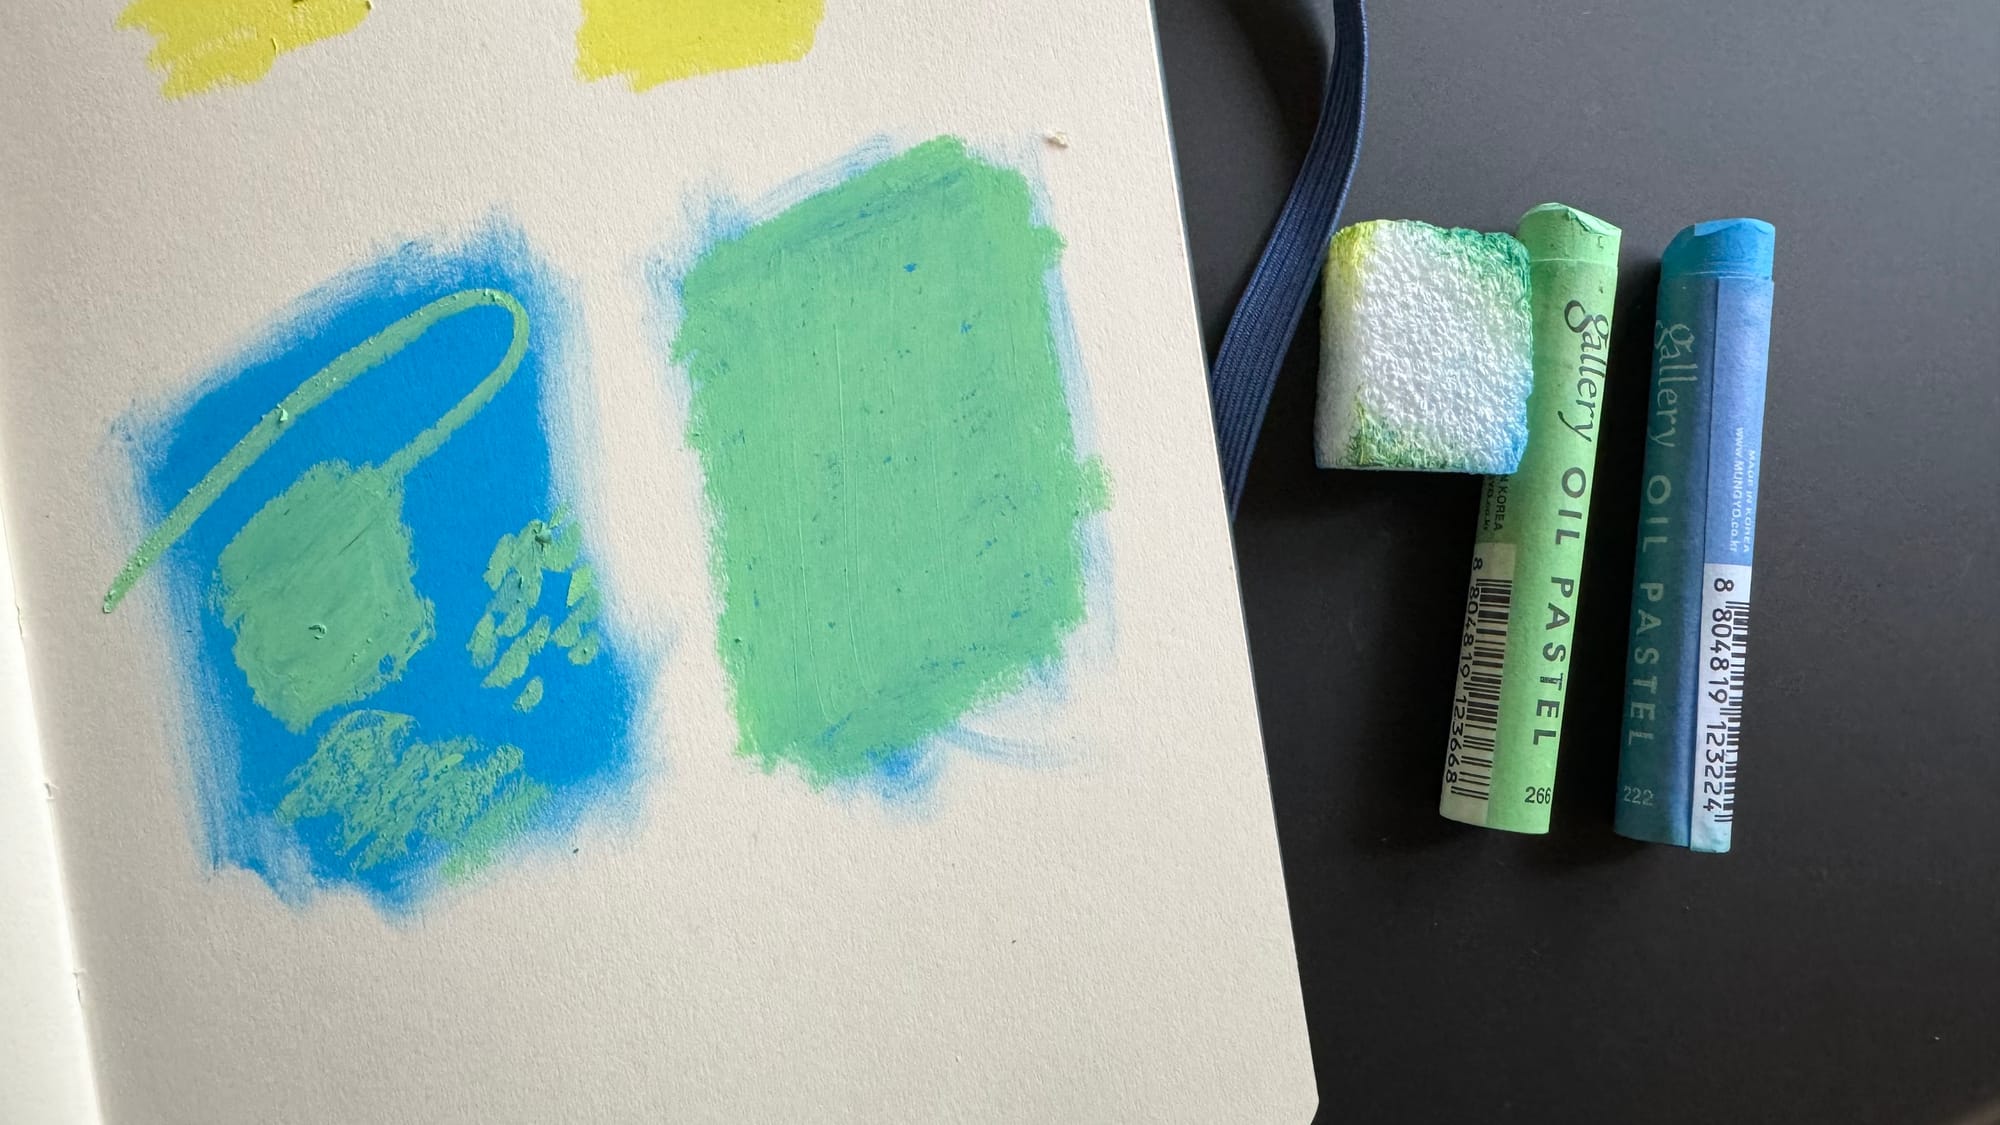
Sgraffito is a technique used with many different mediums where a top layer of color is scraped off of a fixed under layer. Here I am using a toothpick to scratch the green off, but you can use different tools/objects to make a variety of textures.
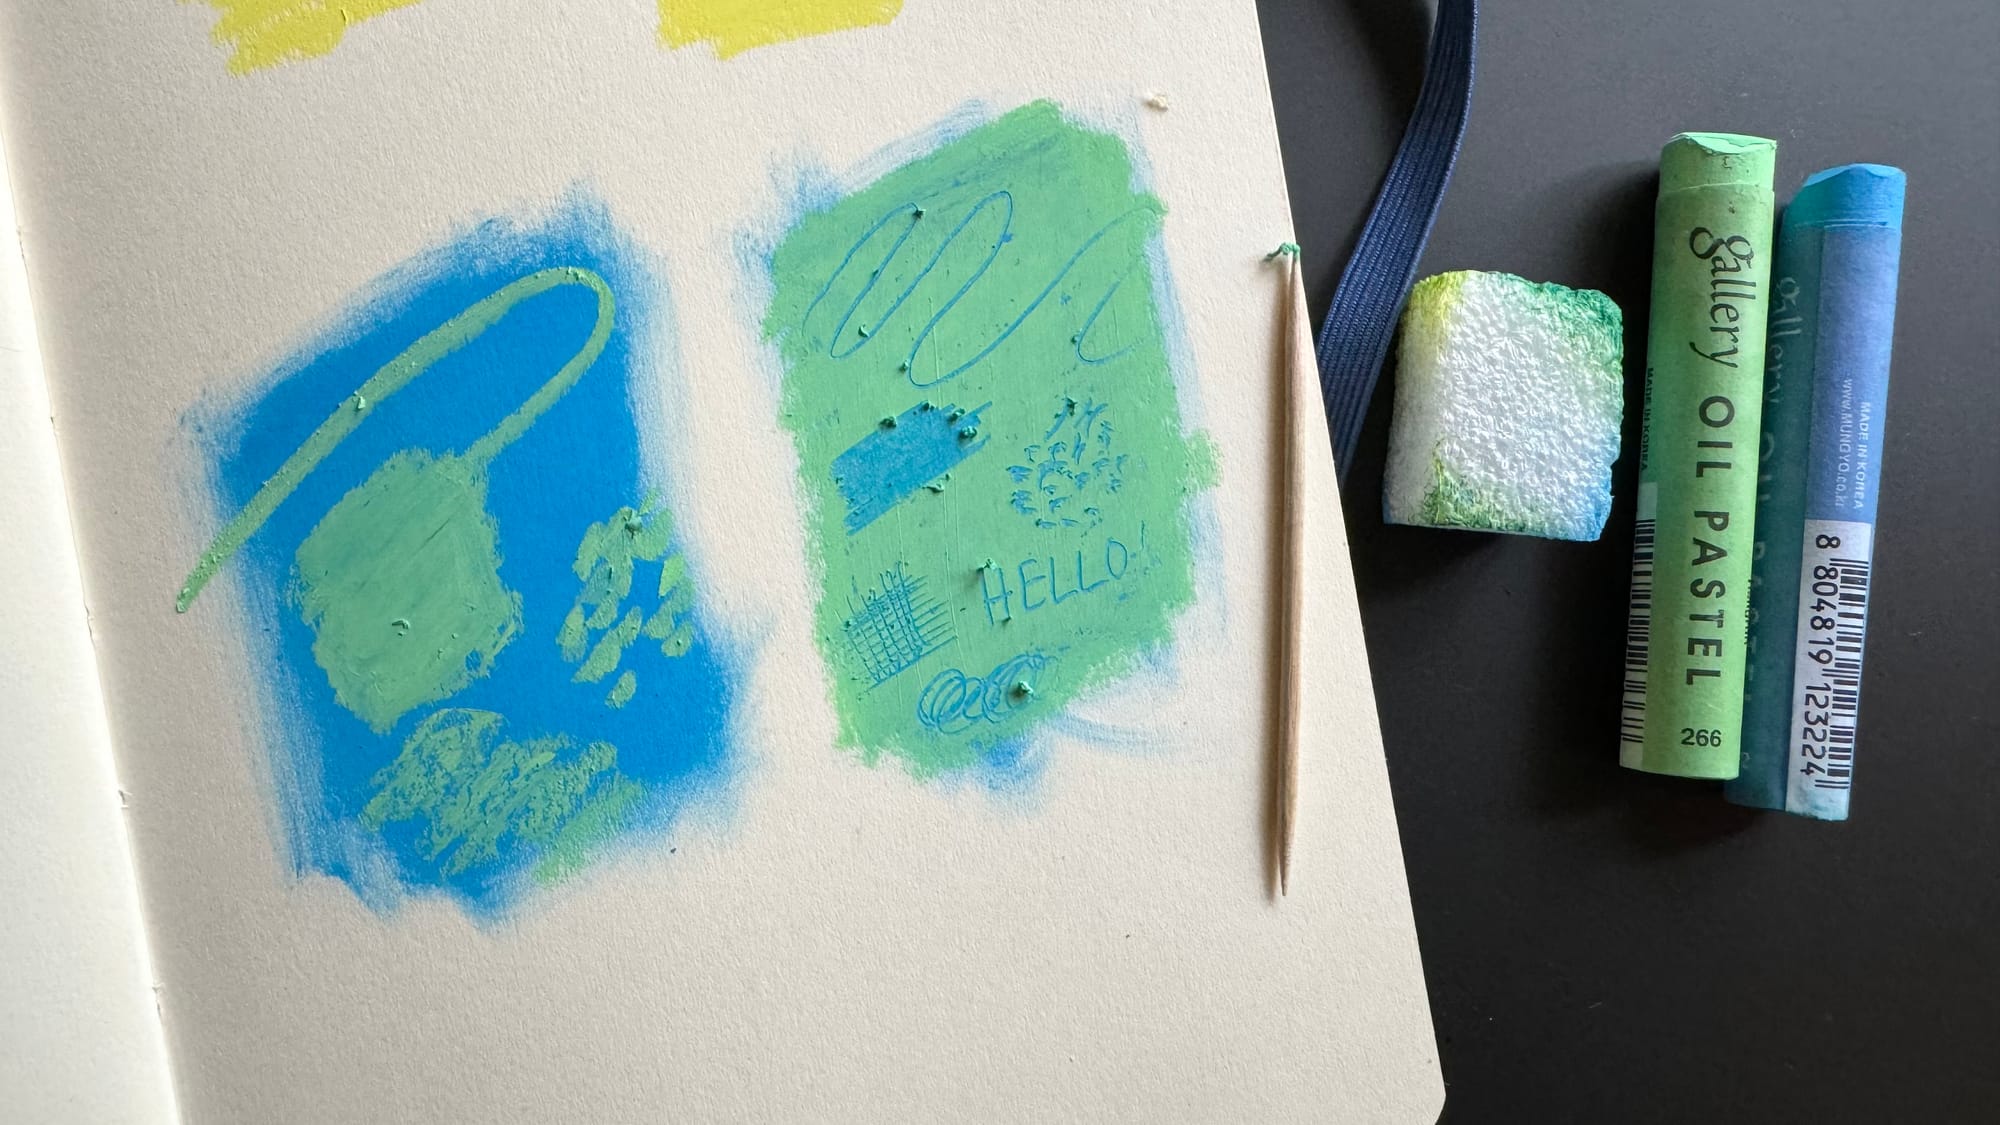
Once I am done scraping I just gently wipe off the crumbles of pastels.
There are a number of other techniques I decided to skip for now. I wanted to mention this because sometimes getting into a new medium is overwhelming with so much to learn. I like to start with a few approaches and build some confidence, and the go from there. In this case, I skipped over blending out or mixing the oil pastels in a painty way using liquid oils, as well as scumbling, knife application, and working with other dry blending tools.
A few techniques are really all we need to get into the next phase, which is the fun part: sketching!

